
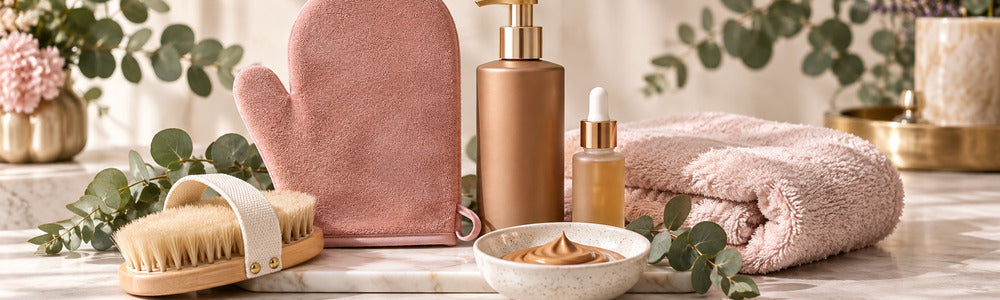
How to Apply Self-Tanner for an Even, Natural-Looking Glow
An even self-tan comes from preparation, light layers, careful blending, and patience—not from using the largest possible amount. This guide focuses on application technique. If you are deciding between UV exposure, bronzer, DHA, and DHA-free formulas, begin with the companion guide to a natural-looking tan without UV exposure.
Key takeaways
- Exfoliate gently in advance and begin with clean, fully dry skin.
- Use less product on elbows, knees, ankles, hands, and feet.
- Blend in sections with a mitt and follow the formula’s development directions.
- Sunless color is not a substitute for sunscreen.
The day before: exfoliate and remove hair
If you exfoliate or shave, doing it in advance gives skin time to settle. Use a gentle method and avoid scrubbing until skin feels hot or raw. Pay attention to naturally drier areas without trying to polish them aggressively. Do not exfoliate sunburned, broken, or irritated skin.
Right before application
- Shower if needed and rinse away product residue.
- Dry completely; water droplets can dilute the application unevenly.
- Apply a small amount of plain moisturizer to elbows, knees, ankles, knuckles, wrists, and other dry areas.
- Protect light fabrics and choose loose, dark clothing for development time.
- Patch test a new formula according to its label before full use.
Apply self-tanner to the body in sections
Work one area at a time, such as lower leg, upper leg, abdomen, then arms. Place a modest amount on a clean mitt and blend with broad circular motions. Feather the edges at wrists and ankles rather than stopping abruptly. Use what remains on the mitt for elbows and knees.
Choose the development speed and format that fit your routine. The DHA-Free Self Tanner for Sensitive Skin offers a gradual alternative, while Organic Self Tanner – Fast Bronze Glow is intended for a faster result. Follow the selected product’s label rather than borrowing timing from another formula.
How to blend the face, hands, and feet
For the face, use a product intended for facial application or use drops exactly as directed. The Organic Self Tan Drops – Fast Glow can make facial intensity easier to customize. Avoid the eye area, lips, hairline buildup, and mucous membranes.
For hands and feet, use only residual product from the mitt or a small brush. Blend across the top, soften around fingers and toes, and wipe palms, nails, cuticles, and the underside of feet. A damp cloth can soften obvious edges immediately after application.
Let the color develop according to the label
Give the formula time to dry before dressing. Avoid water, heavy sweating, and tight friction during the stated development window. Do not leave a product on longer than directed in hopes of forcing a deeper shade. Wash your hands after use unless the mitt fully protected them.
Maintain color and let it fade evenly
Use a gentle cleanser, moisturize regularly, and pat dry. Chlorinated water, frequent hot showers, and strong exfoliation can speed fading. When the color becomes patchy, allow it to fade or use a gentle removal routine before reapplying. Layering fresh tanner over uneven remnants can amplify the contrast.
Sunless color usually provides no UV protection. Follow the daily sunscreen guide and use shade and protective clothing outdoors.
Frequently asked questions
Why are my knees and elbows darker?
Dry, thicker areas can hold more color. Moisturize them lightly first and use less tanner there.
Can I apply a second coat?
Follow the label. It is usually easier to build gradually after the first layer has fully developed and been assessed.
When can I shower?
Development times vary, so use the directions on your formula. Showering too early may reduce or unevenly interrupt the result.
How long does self-tanner last?
Results vary with formula, preparation, bathing, exfoliation, and skin turnover. Expect gradual fading rather than a permanent shade.